
Looking for an awesome recipe to do with your kids? Try making bread in a bag. This recipe works for toddlers who want to be in the kitchen with a parent to tweens looking for a recipe to try on their own. Read more to learn about making bread in a bag and see the recipe at the bottom of the post.
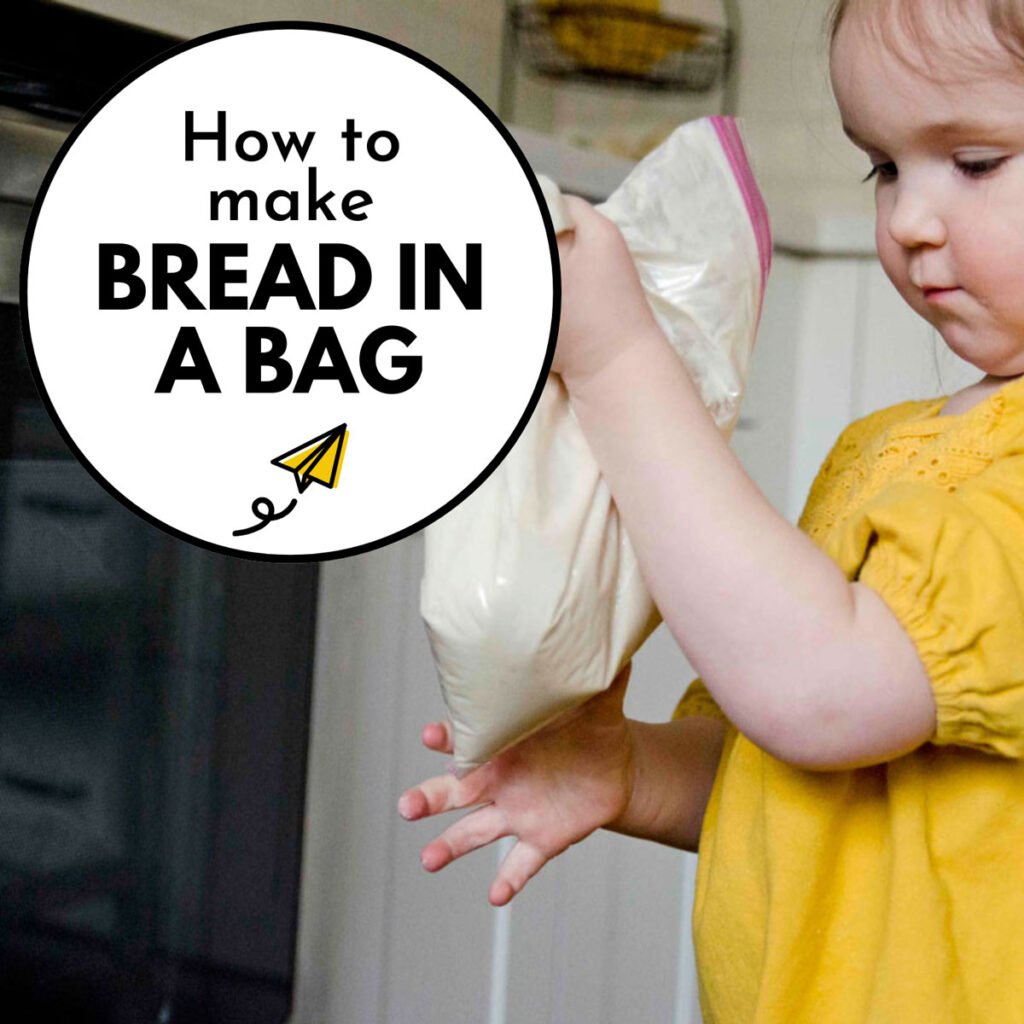
Did you know you can actually make bread in a bag?
I know – it sounds impossible. When I first heard about it, I had the same reaction you probably just did: wait, does that actually work? Spoiler alert: yes, it really does. And not only does it work, but it’s also one of the most fun (and surprisingly easy) activities to do with kids.
Bread in a bag is part science experiment, part sensory play, and part delicious payoff. And the best part? Kids do most of the work – inside a single zipper bag, and it actually tastes amazing.
Why Make Bread in a Bag with Kids?
Here’s why I love this activity:
- Hands-on learning – Kids get to measure, shake, smoosh, and knead.
- Less mess – Most of the mixing happens in a bag. (Minimal flour explosions… but no promises.)
- Built-in patience practice – Proofing and rising teach kids that sometimes good things take a little waiting.
- A tasty reward – At the end, you actually have a warm loaf of homemade bread.
It’s similar to making ice cream in a bag or butter in a jar – activities where kids see everyday ingredients transform into something amazing.

What You’ll Need
- A large zipper-top resealable bag (gallon size works best)
- A loaf pan
- A few simple pantry ingredients (flour, sugar, yeast, butter, salt, and water)
- A kid or two ready to shake, dance, and knead
Step-by-Step: How to Make Bread in a Bag
I adapted a recipe I found on Your Homebased Mom to make Bread in a Bag even more toddler/young child appropriate and fit my family’s tastes a little more (i.e.: more butter).
The full recipe is at the bottom of this post but here’s the run down of it went.
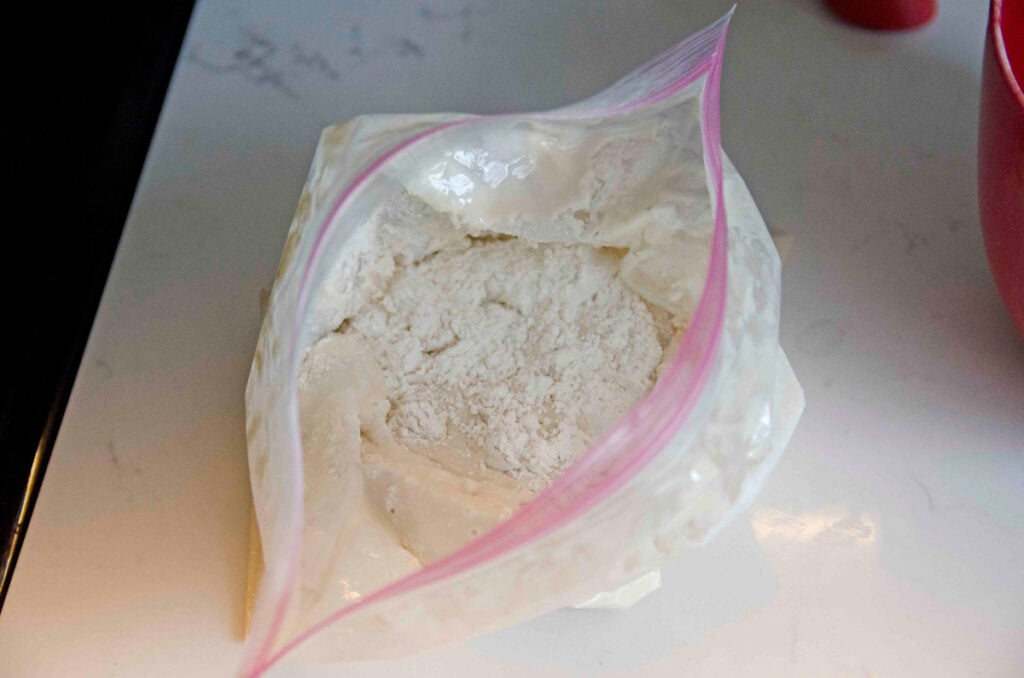
Step 1: First Mix
Add 1 cup flour, sugar, and yeast to your bag. Shake gently to combine.
My tip: If pouring straight into the bag is tricky for little hands, mix the first ingredients in a bowl, then transfer to the bag.


Step 2: Add Water & Proof
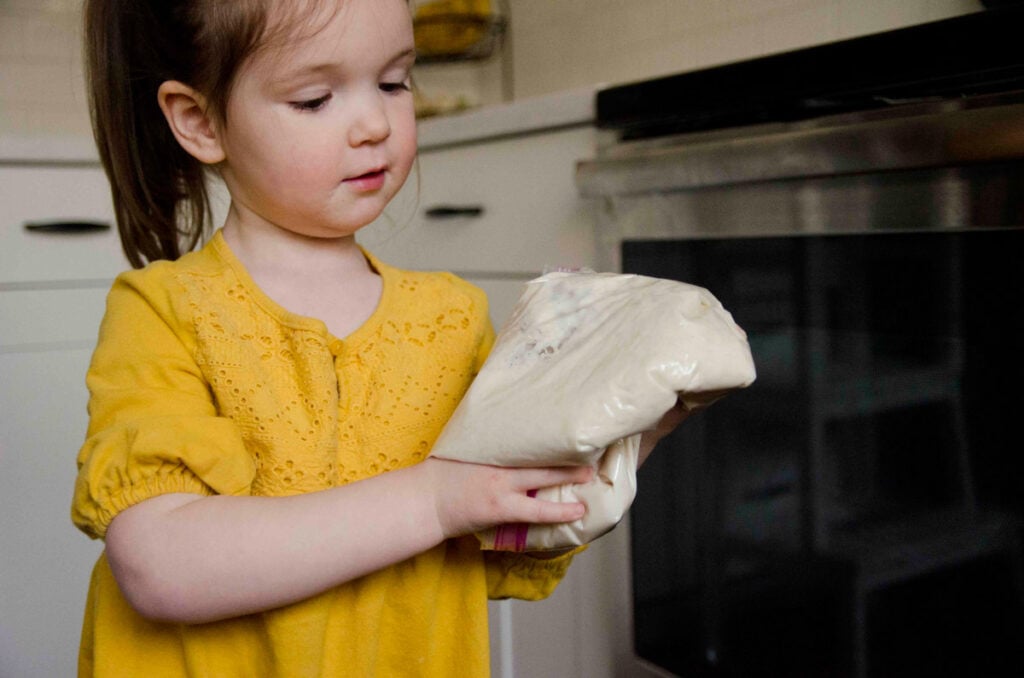
Pour warm water into the bag, seal it tight, and let your kids shake it up. This is where the yeast wakes up and starts its bubbly magic.
Leave the bag to rest for about 10 minutes. (We usually fit in a three-song dance party while we wait.)
Step 3: Add More Ingredients
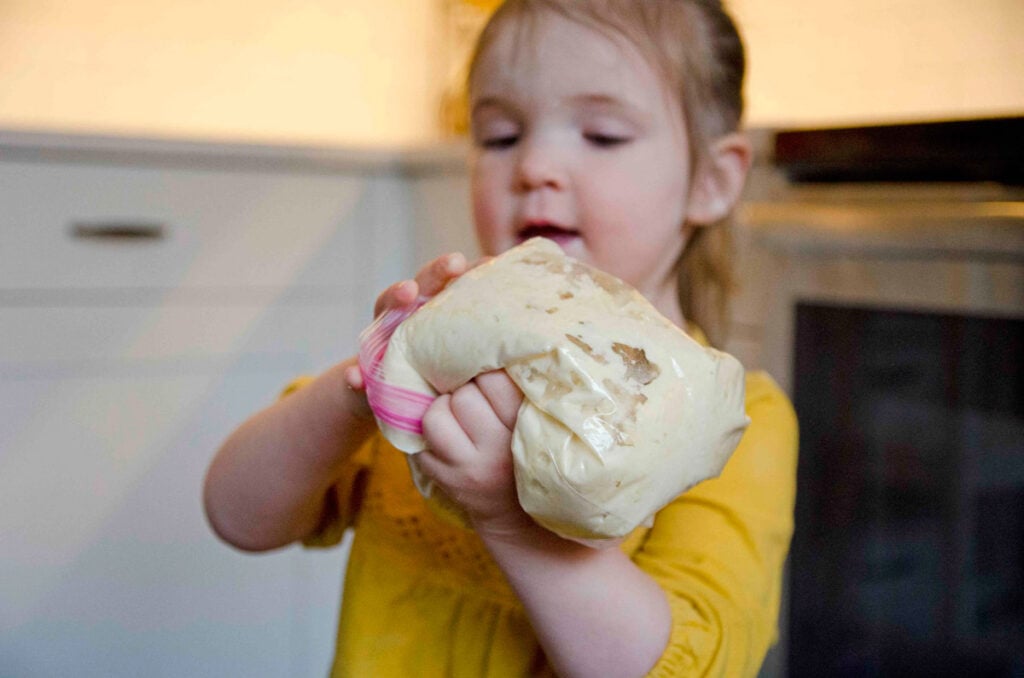
Add more flour, salt, and melted butter into the bag. Kids can squish and mix until the dough starts pulling away from the plastic. That’s a good sign – it means the butter is doing its job.
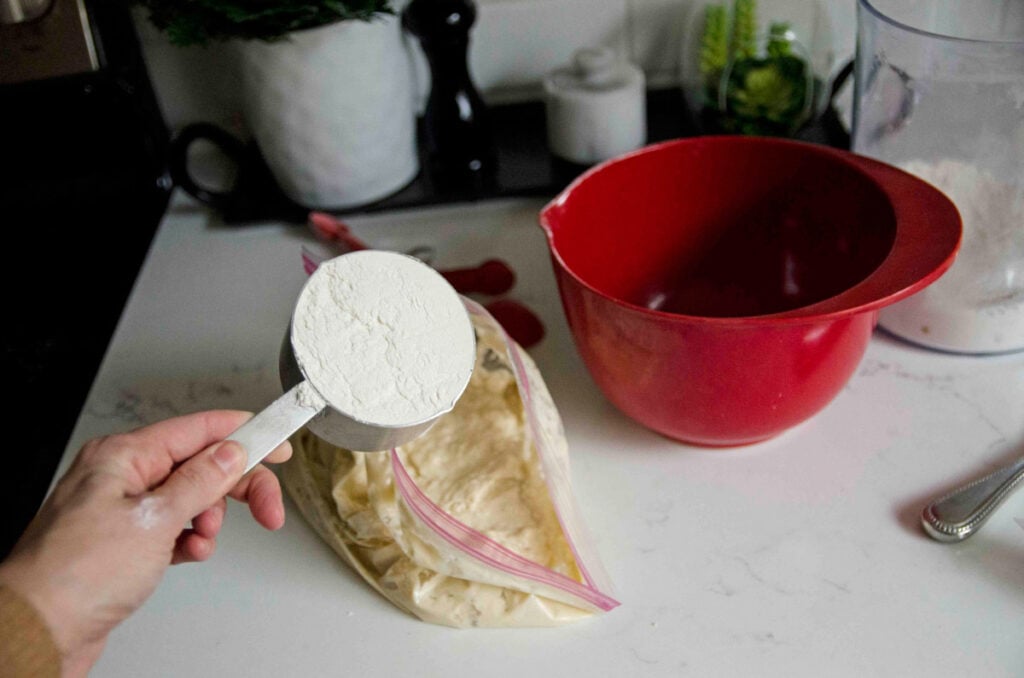
Step 4: Last Flour Addition
Add the final cup of flour.
Mix, shake, and dance again. The dough should be forming into a sticky but workable mass.
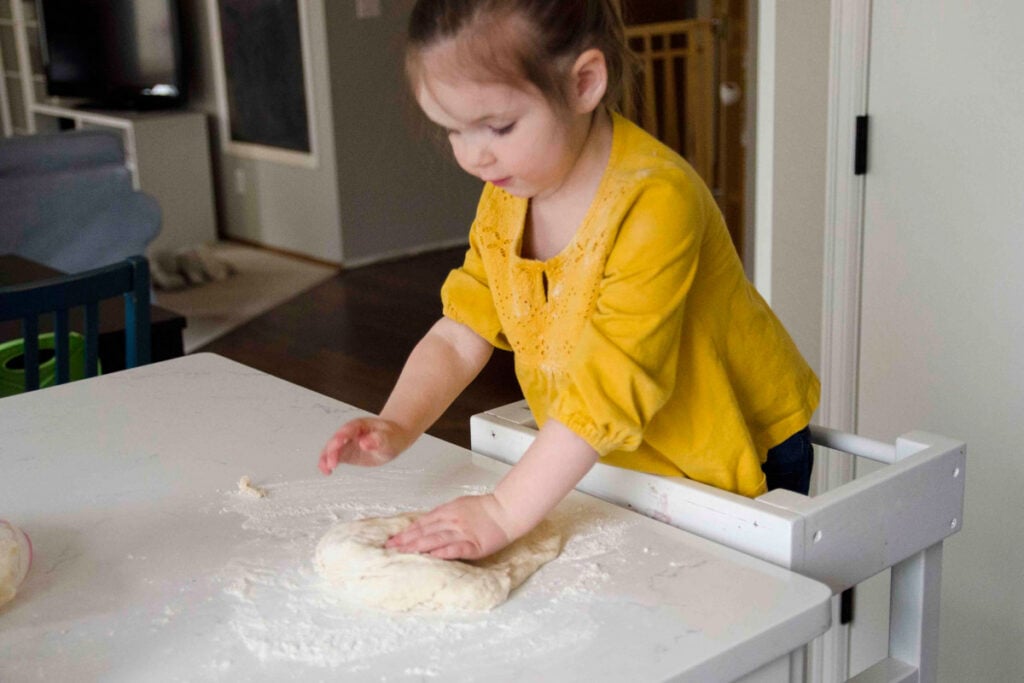
Step 5: Knead the Dough
Dump the dough out onto a floured surface. Show your kids how to knead by pressing and folding. Aim for 5–10 minutes of kneading.
We make it fun by counting, singing, or dancing while we knead.
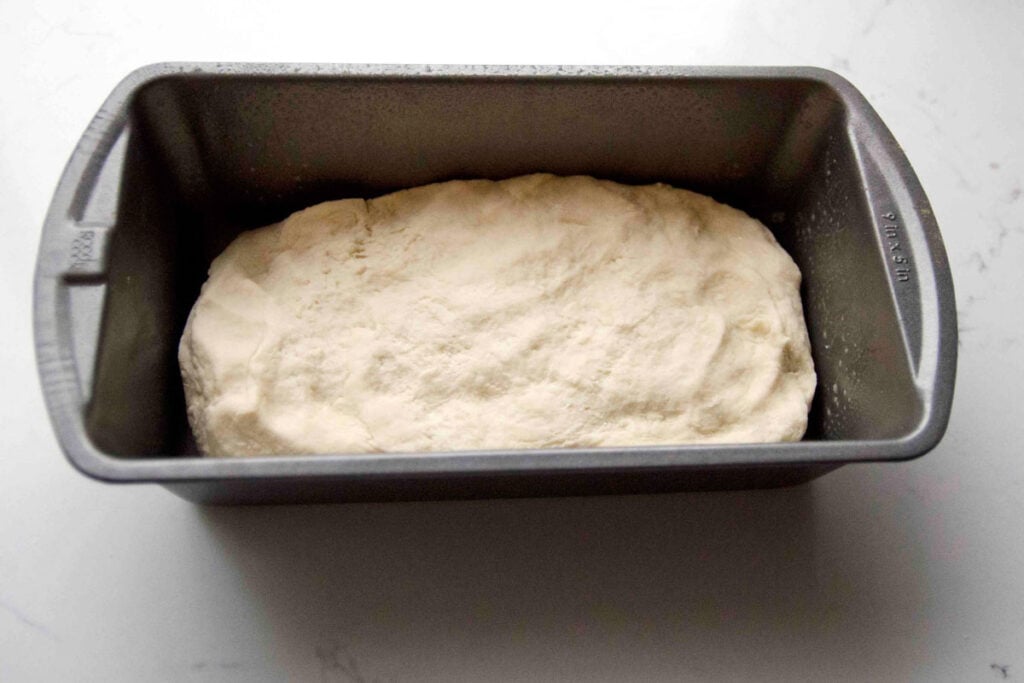
Step 6: Let It Rise
Grease a loaf pan, place the dough inside, and cover it with a towel. Let it rise in a warm spot for 30–45 minutes.
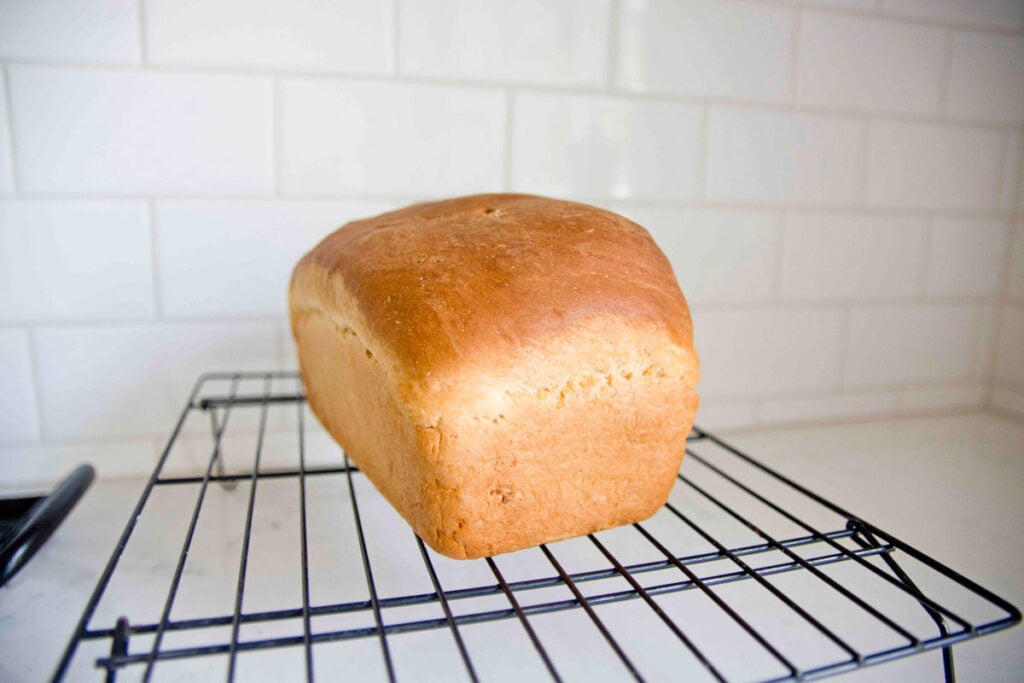
Step 7: Bake It!
Bake at 375°F (190°C) for about 25–30 minutes, until golden brown. Your kitchen will smell amazing.
What to Expect
Is this going to win a baking contest? Probably not. But is it:
- A kid-friendly activity
- A cozy rainy-day project
- A way to keep toddlers (or bigger kids) happily occupied
- And a loaf of warm, homemade bread
Yes, yes, yes, and yes.
Bread in a Bag has become a go-to in our house for:
- Rainy days
- Bored afternoons
- Sick days
- Playdates that need a calm-down activity
Basically, anytime we need something fun and grounding, this recipe works.
Bread in a Bag
Equipment
- 1 Gallon Sized Resealable Plastic Bag
Ingredients
- 3 cups flour
- 1/4 cup sugar
- 1 packet yeast (rapid or regular)
- 1/4 cup unsalted butter, melted
- 1 teaspoon salt (to taste)
- Flour for kneading
Instructions
- Combine 1 cup flour, 1/4 cup sugar, and yeast packet in a bowl. Pour into a resealable bag.
- Add 1 cup warm water. Seal bag, pressing out air.
- Begin shaking and mixing the bag by hand.
- Set bag to rest for 10 minutes (proofing).
- In a bowl, combine 1 cup of flour with salt. Pour into bag along with melted butter.
- Seal bag again, pressing out air. Shake and mix again.
- Open bag and add in last cup of flour.
- Seal bag, and mix for final time.
- Pull out dough and place on a floured surface.
- With floured hands, knead dough for 5-10 minutes
- Place dough in a greased loaf pan.
- Lay towel over the loaf pan and set it in a warm spot in your house. Allow the dough 30-45 minutes to rise.
- Bake at 375 for 25 minutes,
Frequently Asked Questions
Yes! It’s not bakery-level bread, but it’s soft, tasty, and perfect for a kid-made snack.
You can, but it will be denser. I recommend starting with all-purpose flour for the best kid success rate.
Nope. That’s the beauty of this activity. All you need is a bag, a pan, and a little patience.


 Subscribe to my free newsletter and I’ll send you “35 Easy Toddler Activities to Break Up the Day!”
Leanne Zeron says
Just made this with my grandchildren, ages 4 and 1 1/2…it was a real hit! It was so much fun as one would shake the bag while the other did a little dance, then switch out! I was really surprised at how nice the loaf of bread turned out …and they gobbled it up, so we will definitely be doing this again.
Kell Brigan says
I have some arthritis in my hands and have been trying to find a hack for the kneading process. I’ve discovered that if you put 1 tablespoon of flour into a large bowl with a lid (i.e. Tupperware) and then the mixed dough, you can snap on the cover and shake the bowl to need the dough. If the dough sticks to the side of the bowl and no longer makes a satisfying thump when you shake it, open the bowl scrape down the sides and loosen the dough from the bottom of the bowl. Sprinkle in another tablespoon of flour and give it another round of shaking, making sure to get that nice satisfying thump sound. I usually have to add three or four tablespoons of flour to keep it “thumping.” I repeat the shaking cycle enough times to get the dough to the point where it passes the window pane test. I’ve gotten better results shaking the dough in a bowl then I ever have trying to need it on a counter, and bowls are a lot less expensive than KitchenAid mixers! Seems like this would be a good match to go along with the bread in a bag activity since the kids could really get into shaking the bowl and make it making it go thump!
Ruth says
What a great idea!
Jeanette says
This looks fun and we just got some yeast. Finally!! What kind of flour? Bread flour, AP flour?
busytoddler says
All purpose is what I used!
Alanna says
I made this with my 2 year old last week and we both loved it. Not only is it fun for them, the mess was minimal, and there was a surprisingly tasty snack at the end! We will definitely be making this again. Thank you!
Lisa Wiggins says
Excited to try this with my little man! Do you have to do anything different if you use traditional yeast instead of rapid rise? Thanks for so many great ideas!